Direct Answer: Forensic evidence capture on chemical, hazmat, asbestos, and lead-soot losses requires non-disturbance photography before any wipe-down, explicit photo-to-lab linkage between macro images and Industrial Hygienist swab or air-cassette IDs, sealed capture hardware hygiene, and strict NFPA 921 / spoliation-hold preservation whenever faulty equipment, chemical containers, or contractor releases implicate subrogation.
.md twin for estimator QA and carrier file documentation.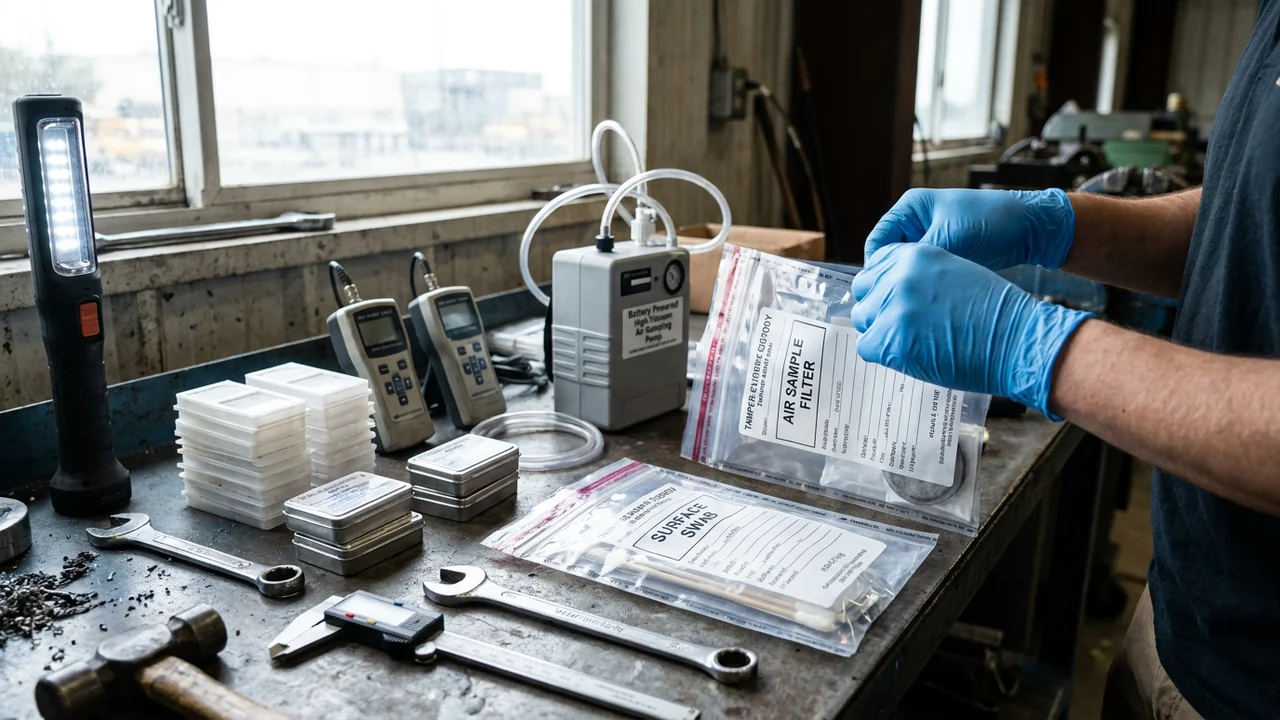
On standard property claims, photographing a damaged item is straightforward: wipe soot off the serial plate, pull the chair into brighter hallway light, and shoot three angles. On a chemical, asbestos, or lead-soot loss, every one of those habits can destroy critical forensic evidence or breach containment. Wiping settled dust removes the exact contaminant deposit that proves exposure pathways, dragging furniture into a clean hallway spreads regulated fibers, and bringing an unbagged phone out of a hot zone turns the camera itself into a contamination vector.
Audit-proof documentation on toxic contamination losses treats visual imagery and analytical chemistry as a single linked spine. Following ANSI/IICRC S320 custody standards alongside forensic principles from NFPA 921 and the NIST OSAC forensic framework, every sample location, damaged asset, and failed containment component must be captured in situ with unmistakable spatial scale and sample ID tags.
Additionally, chemical spills, ruptured hoses, lithium-ion thermal failures, and accidental asbestos disturbance during renovations frequently trigger third-party subrogation. Contents teams do not conduct root-cause engineering investigations or legal evidence determinations, so coordinating early spoliation holds with carrier counsel and forensic engineers protects physical artifacts from premature disposal.
Forensic Evidence & Swab-Linked Photography Workflow
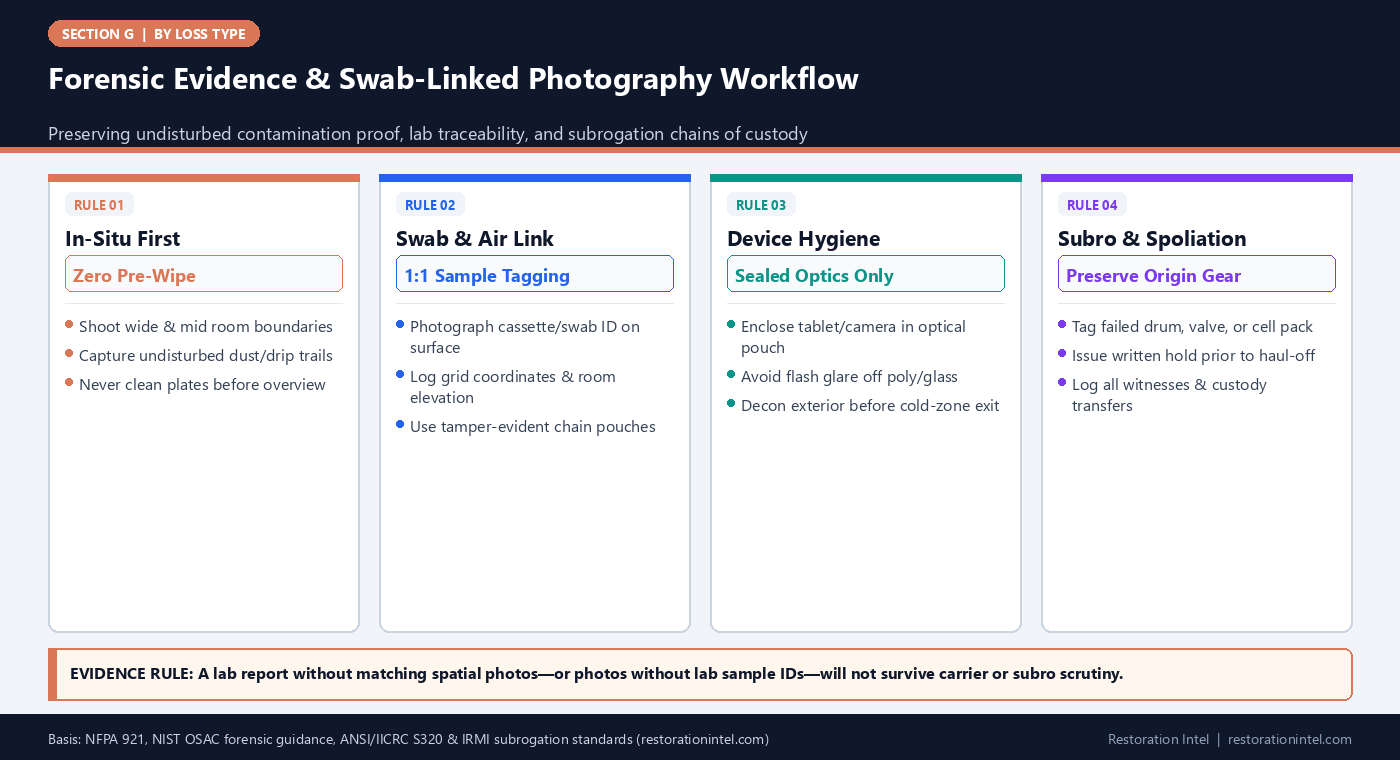
Forensic Photography & Chain-of-Custody Requirements by Evidence Category
Field capture rules linking visual media, Industrial Hygienist analytical samples, and subrogation preservation gates.
| Evidence Artifact Category | Mandatory Camera Sequence | Analytical / Tag Link | Hardware & Contamination Guardrail | Subrogation / Audit Purpose |
|---|---|---|---|---|
| Settled Asbestos / Lead Dust Zones | Wide room panorama, mid-range shelf/surface view, angled raking-light dust macro | Visible sample placard ID next to bulk or micro-vac collection point | Keep camera inside clear disposable optical sleeve; wipe sleeve at airlock | Proves fallout reached contents rather than remaining confined to demo zone |
| Chemical Spill & Etching Pathways | Source-to-target flow trail, container placard/SDS, close-up pitting or discoloration | pH strip / PID meter readout in frame next to surface swab pouch | Use non-sparking standoff lighting; avoid kneeling in wet chemical pools | Establishes direct chemical contact and rules out pre-existing wear |
| Air-Cassette & Pump Stations | Wide shot showing pump placement relative to doors/contents, macro of cassette serial | Match time-stamped pump flow log to lab chain-of-custody form | Do not relocate running air pumps to stage cleaner background shots | Defends airborne migration claims across adjoining suites or HVAC returns |
| Asset Model & Rating Plates | Full asset shot first, pre-wipe tag shot, post-spot-clean macro (only after IH clear) | Include room-item barcode and asset ID placard in every close-up | Never dry-wipe toxic soot with bare fingers or non-HEPA shop rags | Protects LKQ pricing tier without obliterating pre-clean contamination evidence |
| Subrogation Origin Artifacts | 360-degree undisturbed view of ruptured drum, fitting, heater, or battery pack | Tamper-evident evidence seal ID plus NFPA 921 / spoliation hold tag | Leave failed valves, ruptured hoses, and electrical leads untouched for engineers | Prevents spoliation defense in carrier recovery against third parties |
| Witness-Bin Condemned Lots | Grouped lot layout with red hazard tags readable before bagging or drum sealing | Cross-reference bin/drum ID directly to total-loss schedule line numbers | Stage on poly sheeting inside containment; shoot under 5000K diffuse work lights | Satisfies carrier audit of non-salvageable volume prior to manifested disposal |
Zero-Disturbance Photography Before Wipe-Downs, Sampling, or Poly Wrapping
Once a contents crew wraps a sofa in polyethylene or wipes chemical residue off a stainless prep table, the visual record of how that contaminant arrived and settled is gone forever. Because asbestos fibers and lead-soot deposits can appear faint under flat overhead fluorescent bulbs, normal straight-on flash photos frequently make heavily contaminated surfaces look completely clean to a desk examiner sitting a thousand miles away.
Proper forensic photography uses raking side-light—holding a diffuse LED work lamp at a 15-to-30-degree angle across a tabletop, bookshelf, or equipment housing—to cast crisp micro-shadows across settled particulate. Pairing that angled close-up with a wide establishing frame showing the open doorway, ceiling breach, or failed pipe wrap proves spatial continuity between the hazard source and the affected personal property.
Whenever items must be stabilized inside poly wrapping or moved out of an active leak path before formal inventorying, crews should capture rapid wide-to-macro reference frames first. A five-minute pre-disturbance sweep prevents months of argument over whether dust originated from the covered peril or from post-loss construction.
- Three-shot minimum per zone: Capture establishing room context, mid-range grouping with barcode/zone sign, and raking-light surface detail.
- Avoid direct on-camera flash: Turn off automatic flash near glossy metals, poly containment walls, and rating plates to prevent blown-out glare.
- Capture adjacent clean controls: Photographing an unaffected sealed interior drawer next to a contaminated exterior shelf proves contaminant penetration limits.
Linking Macro Images to Industrial Hygienist Surface Swabs and Air Cassettes
Photographs prove visual presence, while lab results prove chemical or microscopic identity. When photos and lab sheets live in separate folders with mismatched labels like ‘Room 2 Table’ and ‘Sample B-4,’ adjusters and opposing experts challenge whether the positive swab actually came from the scheduled contents.
To eliminate ambiguity, contents leads should synchronize naming conventions with the Industrial Hygienist before sampling starts. Place a handwritten or printed sample-ID card directly beside the 100-square-centimeter wipe template or air-cassette tripod, shoot a clear frame showing both the ID card and surrounding contents, and record the exact tamper-evident bag serial number in the photo log.
Following NIST OSAC documentation discipline, every image file should retain unaltered EXIF timestamps and original resolution. Never crop out borders or overwrite raw field JPEGs when preparing carrier review PDFs.
- Photograph the template in place: Shoot the disposable 10×10 cm wipe template resting on the contaminated item before swabbing begins.
- Include blank/control documentation: Note field blanks and outdoor background air cassettes in the master evidence index so lab deltas are transparent.
- Map every sample to floorplan: Pin sample IDs onto a simple room sketch alongside room-by-room inventory zone numbers.
Protecting Capture Hardware and Preserving Legible Asset IDs Through Containment
Carrying naked smartphones, tablets, or DSLR cameras from an asbestos or lead-soot room back into the project trailer creates a direct take-home and cross-zone contamination hazard. Yet wrapping lenses in thick frosted plastic bags ruins focus and blurs the tiny stamped characters on machinery rating plates.
Field teams solve this tension with optical-grade clear poly tablet sleeves, dedicated hot-zone cameras sealed with removable port covers, or glass-window viewport photography from the clean side when gross contamination restricts entry. For model and serial plates obscured by toxic soot, technicians must never wipe the plate until IH clearance or controlled spot-cleaning protocols permit; even then, they capture a ‘before’ frame first, use a dampened disposable swab inside containment, and bag the used swab as contaminated waste.
At shift exit, every sealed device sleeve goes into the appropriate waste bag inside the decontamination airlock while the inner hardware undergoes secondary inspection under clean lighting.
- Dedicated containment optics: Assign specific sealed tablets or rugged waterproof cameras exclusively to hot-zone documentation until wiped and cleared.
- Voice-memo narration backup: Dictate model strings, serial numbers, and surface observations through respirator comms or clean-side logs in case glare softens a macro photo.
- Before-and-after plate rule: Always shoot the dirty rating plate in situ before performing any authorized spot-clean to read stamped numbers.
Subrogation Evidence Holds, Spoliation Controls, and NFPA 921 Alignment
Chemical, hazmat, and toxic-soot losses routinely involve third-party responsibility: a renovation subcontractor sanding lead paint without containment, a freight carrier puncturing an acid tote, a defective battery pack igniting a commercial bay, or a ruptured building pipe coating stripping asbestos insulation onto tenant equipment. Under IRMI subrogation recovery principles, destroying or altering the physical failure artifact can forfeit the insurer’s recovery rights through a legal spoliation defense.
In alignment with NFPA 921 evidence preservation practices, contents crews must identify potential origin artifacts during initial documentation and immediately flag them to the adjuster for a written evidence hold. Failed chemical valves, ruptured hoses, charred power strips, and suspected subcontractor sanding equipment must remain untouched or be packaged by forensic specialists under signed custody transfer.
Even ordinary contaminated contents slated for destruction require careful timing when subrogation is active. Never haul away or crush condemned machinery or inventory until the carrier confirms all potentially responsible parties have been notified and given reasonable opportunity to inspect.
- Written disposal green-light: Require email or signed authorization from the claim adjuster and subrogation unit before removing red-tagged total-loss items.
- Custody seal discipline: Apply numbered tamper-evident seals to boxed evidence artifacts and log every handoff signature, date, and storage location.
- Zero causal speculation in notes: Record observable positions and damage states neutrally—leave root-cause failure conclusions to forensic engineers.
Practitioner Verification Checklist (G-33)
- Capture wide, mid-range, and raking-light macro photos of settled dust, chemical trails, and asset tags before any wiping or wrapping occurs.
- Place legible sample ID placards in frame alongside Industrial Hygienist surface-swab templates and air-sampling cassettes.
- Operate sealed optical sleeves or dedicated hot-zone capture devices and decontaminate exterior housings at the airlock threshold.
- Flag failed containers, hoses, electrical components, or contractor debris for potential NFPA 921 subrogation inspection before moving anything.
- Secure written carrier and subrogation release confirmation—and photograph grouped witness bins—before manifested disposal begins.
Standards, Authority References & Related Reading
Primary standards, insurance definitions, and sibling Restoration Intel guides referenced in this brief:
- NFPA 921 Guide for Fire and Explosion Investigations
- NIST Organization of Scientific Area Committees for Forensic Science
- IRMI Insurance Glossary: Subrogation
- ANSI/IICRC S320 Standard for Professional Contents Restoration
- Related Guide: Chemical, Hazmat, Asbestos & Lead-Soot Contamination Losses: First-24-Hour Contents Triage & Stabilization
- Related Guide: Chemical, Hazmat, Asbestos & Lead-Soot Contamination Losses: Non-Salvageable vs Restorable Criteria
- Related Guide: Chemical, Hazmat, Asbestos & Lead-Soot Contamination Losses: Pack-Out Sequencing & Cross-Contamination Containment
- Related Guide: A Pack-Out Record Is Not a Priced Inventory
- Related Guide: Three Adjusters, Three Economies
.md twin for desk QA and team training.Frequently Asked Questions
Why shouldn't crews wipe toxic soot off appliance rating plates right away so photos are sharper?
Wiping before photographing destroys primary contamination proof on that surface. Always capture the undisturbed plate first, wait for safety/IH clearance, then perform controlled damp-swab spot cleaning only if permitted and bag the swab as regulated waste.
How do you make faint asbestos or lead dust show up clearly in claim photographs?
Turn off direct camera flash and shine a bright 5000K LED work lamp across the surface at a shallow 15-to-30-degree raking angle while including a wide context shot and sample ID placard.
What triggers a spoliation-hold requirement on a chemical or hazmat contents loss?
Any scenario where a third party may be liable—such as an uncontained renovation contractor releasing asbestos/lead, a leaking commercial product container, a failed plumbing/HVAC component, or a defective lithium-ion battery—requires preserving physical origin evidence until the insurer clears inspection.
How should tablets or cameras be handled across a hazmat containment boundary?
Enclose capture devices in clear optical-grade protective sleeves inside the hot zone, transfer files digitally where possible, and strip/bag the outer sleeve plus wipe the shell inside the decon airlock before returning to clean zones.