Direct Answer: Architectural floor plans and 3D digital-twin scans provide the spatial room skeleton for a pre-loss baseline, but they only become claim-ready contents records when paired with closed-storage sweeps, serial-plate macros, and clear building-vs-BPP boundaries.
.md twin for estimator QA and carrier file documentation.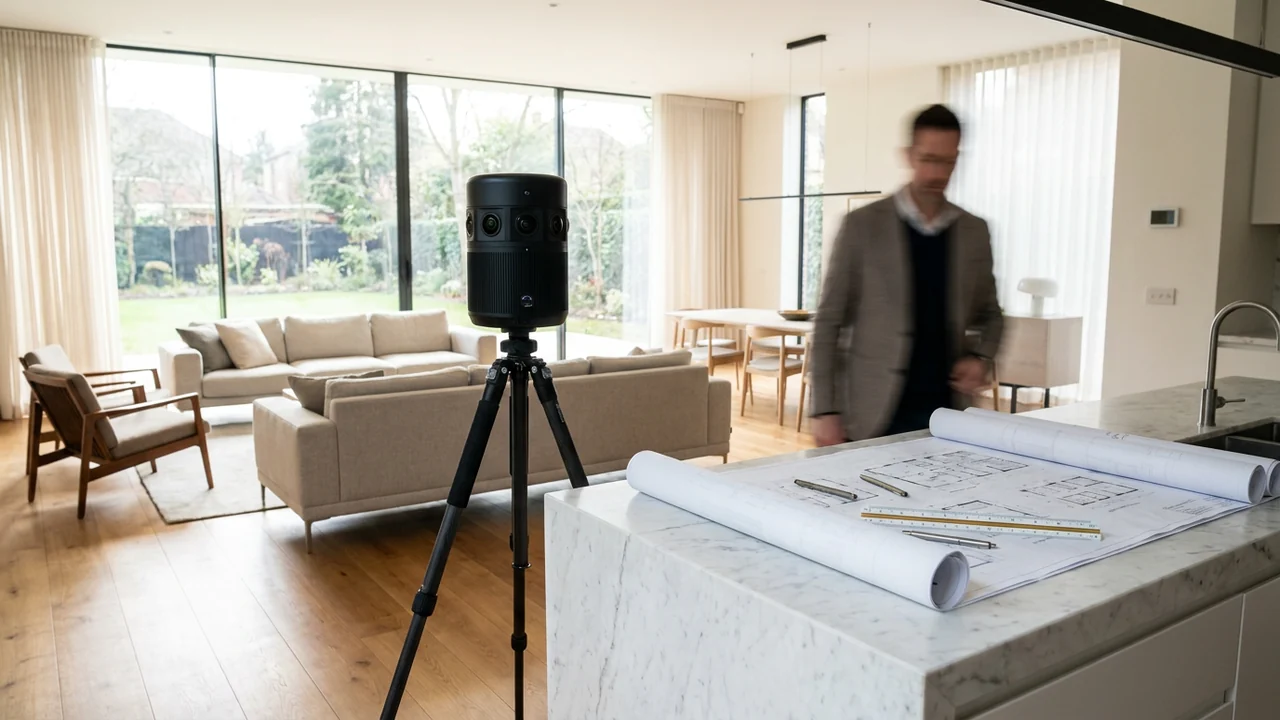
Commercial facility managers, custom homebuilders, and luxury property owners often already possess architectural CAD sheets, MEP as-builts, or Matterport-style 3D virtual walkthroughs created during construction, leasing, or prior renovations. When a restoration contractor proposes a pre-loss preparedness package, stakeholders naturally ask whether those existing files can serve directly as the contents inventory.
The operational answer is yes as a spatial backbone, and no as a standalone claim file. A 3D camera scan captures line-of-sight surfaces from fixed tripod stations, which leaves every closed cabinet, drawer, walk-in closet interior, server rack rear panel, and attic storage bay undocumented. Meanwhile, architectural drawings show built-in millwork, plumbing fixtures, and electrical drops, but they omit the movable Business Personal Property (BPP), furnishings, and specialty equipment later rolled onto the floor.
Aligning spatial twins with ANSI/IICRC S320 custody principles and XactContents room hierarchies turns passive geometry into a structured baseline. As emphasized in A Pack-Out Record Is Not a Priced Inventory, spatial imagery helps prove presence and room layout, whereas estimators still need legible model specs, quantities, and ownership tags to defend Line-Item Like-Kind-and-Quality pricing after a loss.
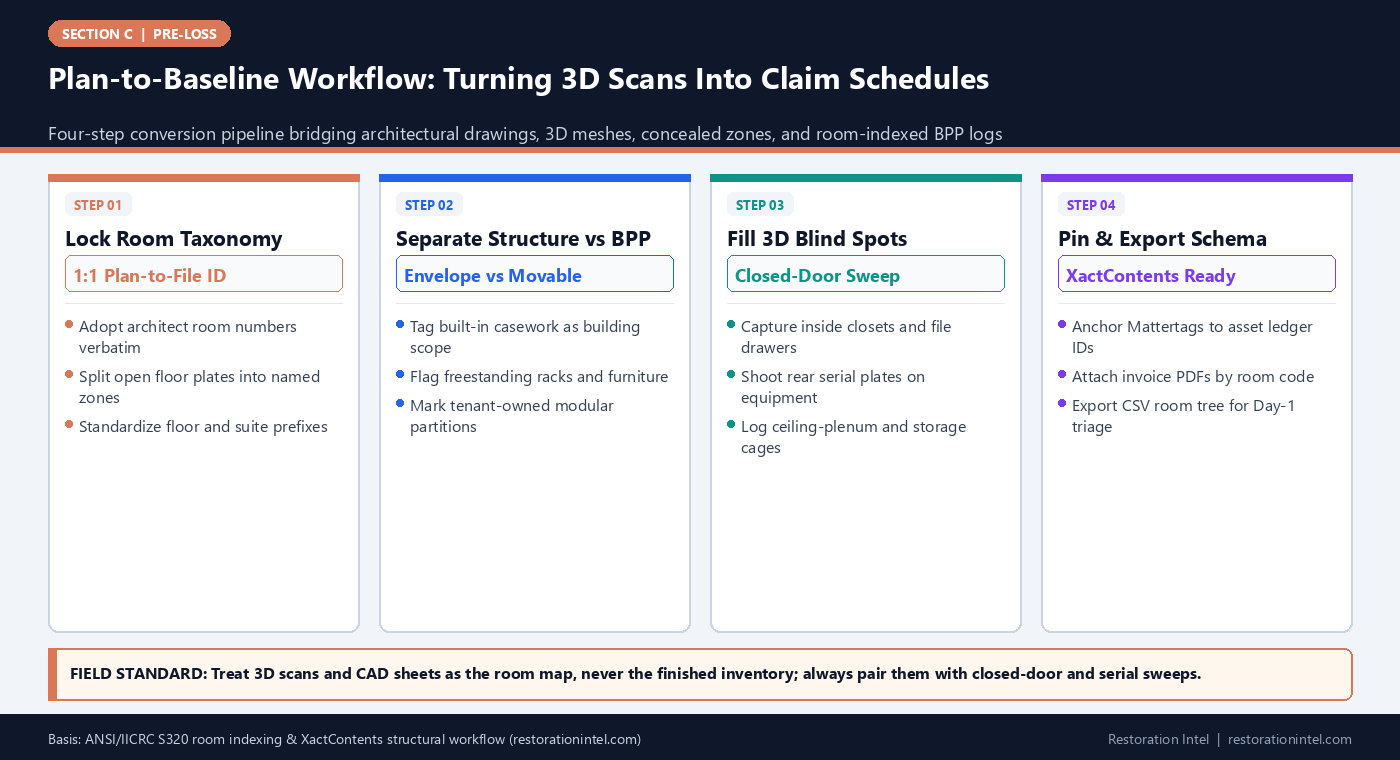
Plan-to-Baseline Workflow: Turning 3D Scans Into Claim Schedules
Spatial Source Artifacts vs Pre-Loss Contents Baseline Readiness
Mapping what each existing architectural or 3D file already proves and what field teams must add before a baseline is claim-usable.
| Source File Type | What It Proves Reliably | Critical Blind Spots | Required Supplemental Capture | Target Baseline Output |
|---|---|---|---|---|
| Architectural Floor Plans (PDF/CAD) | Exact room dimensions, door swings, room numbers, built-in casework layout | Zero record of movable furniture, electronics, stock, or personal goods | Walk-through video + room-indexed asset count tied to plan numbers | Master room-tree CSV matching drawing callouts |
| Equipment & FF&E Schedules | Architect-specified fixtures, commercial kitchen units, lab benches at build-out | Post-occupancy purchases, replacements, and tenant modifications missing | Physical verification walk confirming installed models and serial tags | Reconciled installed-equipment schedule with live photos |
| Matterport / 3D Mesh Scans | Visual room layout, flooring, visible furniture placement, sightline finishes | Closed closets, drawers, under-counter gear, blurred nameplate text | Targeted open-door smartphone sweep + macro plate shots by room | Linked 3D room pins paired with high-res detail packets |
| LiDAR Point Clouds (.e57/.las) | Millimeter-accurate spatial geometry for large warehouses and mezzanines | Low color fidelity on labels, SKU cartons, and small tool cribs | Pallet-bay signage photos + ERP cycle-count export per bay ID | Zone-mapped storage baseline with cubic capacity notes |
| MEP As-Built Drawings | Hardwired HVAC, fire suppression, electrical panels, medical gas drops | Plug-in appliances, portable compressors, workstation peripherals | Photo inventory of cord-and-plug equipment by circuit/room | Clear structure-vs-contents boundary sheet for adjusters |
Normalizing Room Names Between Blueprints, Scans, and Estimating Software
Most pre-loss friction begins with mismatched room names. Architectural drawings label a space ‘Room 204 – Conference B,’ the facilities team calls it ‘North Boardroom,’ the 3D tour labels the sweep ‘2F Glass Room,’ and a post-loss mitigation crew writes ‘2nd Floor Large Office’ on pack-out boxes. When fire or pipe-burst damage forces a rapid pack-out, estimators waste hours reconciling four naming schemes for the same square footage.
Before extracting a single item from a blueprint or 3D scan, the pre-loss coordinator should establish one canonical room taxonomy. For commercial properties with existing posted signage or life-safety evacuation maps, use the exact room number printed on the architectural plan and doorway plaque, paired with a plain-English functional label such as 204_Conf_North. For large open-plan offices, retail floors, or warehouses lacking interior partitions, overlay structural column-grid coordinates or fire-zone boundaries directly onto a clean PDF plan so every movable workstation or merchandise gondola sits inside a deterministic zone.
Once locked, that exact room string should govern the Matterport scan labels, the supplemental photo folder hierarchy, and the eventual Xactimate or XactContents room tree. Consistent naming eliminates duplicate room creation when emergency crews upload Day-1 loss photos under pressure.
- Single source of naming truth: Print and laminate the canonical room-map PDF inside the physical site binder and digital dossier.
- Column-grid subdivisions: Split open warehouses or bullpens into quadrants (e.g., Grid A1-C4) so 3D pins never float across unlabeled acreage.
- Orientation anchor: Mark true north or main street elevation on every plan page so clockwise wall sweeps match the scan rotation.
Closing the 3D Scan Blind Spots: Cabinetry, Closets, and Legibility
A pristine 3D walkthrough creates a dangerous illusion of completeness. Because 3D capture rigs sit roughly five feet off the floor in open walkways, they rarely resolve twelve-point serial numbers on the back of an AV receiver, cannot see behind closed pantry doors, and omit items tucked inside rolling tool chests or credenzas. If a fire consumes a suite and the policyholder relies solely on a legacy leasing Matterport link, the desk examiner can confirm a credenza existed—yet has zero evidence of the calibrated test gear or archival records stored inside it.
To turn an existing 3D scan into a defensible baseline without re-scanning the entire building from scratch, deploy a targeted ‘gap-closure sweep.’ Technicians walk room by room with the 3D tour open on a tablet, opening every drawer, closet, supply cabinet, and mechanical alcove skipped by the tripod camera. Each concealed compartment receives one wide-open framing shot followed by narrated pan video or structured count notes.
At the same time, capture crisp macro photographs of manufacturer rating plates on high-value movable assets—commercial printers, espresso equipment, laboratory centrifuges, servers, and custom audio amplifiers. Pinning those detail packets to matching spatial tags inside the 3D model or room folder bridges visual context with verifiable specification.
- Closed-door rule: Never mark a room ‘baseline complete’ from a 3D mesh until every cabinet, closet, and under-desk zone has an open-door photo.
- Glare-free serial macros: Angle flashlight illumination off-axis when shooting stainless or foil OEM nameplates so model digits remain readable.
- Mirror and glass awareness: Check 3D meshes in conference rooms and retail displays where reflections obscure merchandise or create ghost geometry.
Drawing the Structure vs. Contents Line Using Architectural Schedules
Architectural plans and FF&E (Furniture, Fixtures, and Equipment) schedules are invaluable for one specific claim hurdle: separating building coverage from Business Personal Property or unit-owner contents before an adjuster dispute arises. Custom reception desks bolted to floor slabs, recessed projection screens, hardwired nurse-call consoles, and plumbed commercial hoods frequently fall into coverage grey zones depending on lease terms and policy endorsements.
During baseline conversion, the coordinator should review the architectural finish and equipment schedules alongside the live 3D scan and tag ambiguous installations into three provisional documentation buckets: permanently affixed building elements, hardwired or plumbed specialty equipment, and freestanding movable contents. Note clearly in the dossier that these categorizations are physical-attachment observations for estimator readiness, not coverage determinations.
Documenting attachment method—bolted vs freestanding, hardwired junction box vs NEMA wall plug, plumbed copper vs braided quick-disconnect—gives both the structure estimator and contents estimator clean factual evidence on Day 1. Neither side wastes billable estimating hours double-counting or omitting a high-value built-in workstation.
- Attachment photo pair: Shoot one wide view showing the unit in the room and one close-up of the wall anchor, hardwire conduit, or floor plug.
- Modular wall systems: Flag demountable glass partitions and movable acoustic pods separately from framed drywall partitions.
- Lease boundary cross-check: Note whether tenant-installed equipment is flagged for landlord vs tenant verification without rendering legal advice.
Exporting Spatial Baselines Into Estimator-Ready Room Trees and Data Packs
A 3D link locked behind a vendor login or an unindexed 2 GB CAD folder helps nobody during a midnight emergency dispatch. Converting plans and scans into a usable pre-loss baseline means exporting lightweight, portable deliverables that survive offline job sites and standard estimating workflows.
The finished conversion package should include three synchronized artifacts: a clean multi-page PDF floor plan stamped with canonical room IDs and emergency shutoffs; a structured CSV or spreadsheet room tree pre-populated with major known assets, quantities, OEM models, and attachment notes; and an offline-capable media archive organized in matching Room_ID subfolders. Where interactive 3D tours remain hosted, store static room-by-room screenshot plates alongside the tour URL so adjusters who cannot open external WebGL viewers can still inspect every room inside standard claim attachments.
Finally, attach a date stamp and delta-log header to the converted baseline. Architectural plans reflect design intent at permit or completion; pairing them with a dated walk-through proves what was physically present on the floor after move-in and subsequent capital additions.
- Static fallback plates: Export high-resolution 2D plan views and key room stills from 3D scans for carrier portals that reject external links.
- Room-code parity: Verify CSV room names match PDF callouts character-for-character so Day-1 intake imports cleanly.
- Annual delta audit: Re-walk remodeled suites against the legacy CAD sheet whenever interior walls or major equipment lines shift.
Practitioner Verification Checklist (C-20)
- Adopt one canonical room-numbering scheme from the architectural floor plan and synchronize all scan labels and photo folders to it.
- Overlay column-grid or quadrant callouts onto open warehouses, retail floors, and bullpens that lack numbered walls.
- Perform an open-door gap sweep of every closet, drawer, cabinet, and rear equipment panel hidden from 3D tripod stations.
- Document physical attachment methods (hardwired, plumbed, bolted, vs cord-and-plug) on built-in millwork and specialty units.
- Export offline PDF floor maps, static room plates, and a matching room-tree CSV alongside any hosted 3D tour links.
Standards, Authority References & Related Reading
Primary standards, insurance definitions, and sibling Restoration Intel guides referenced in this brief:
- ANSI/IICRC S320 Standard for Professional Contents Restoration
- Verisk XactContents Platform Overview
- Verisk Xactimate Estimating Platform
- Restoration Industry Association (RIA)
- Related Guide: The Minimum Viable Pre-Loss Walkthrough: What Any Property Owner Can Capture in 45 Minutes
- Related Guide: Commercial Business Personal Property (BPP) Pre-Loss Schedules: Aligning Fixed Asset Ledgers with Physical Reality
- Related Guide: Pre-Loss Video Narration Scripts That Actually Parse Into Itemized Inventories Later
- Related Guide: From Pre-Loss File to Day-1 Claim Schedule: How Estimators Reconcile Surviving vs Damaged Items After a Loss
- Related Guide: A Pack-Out Record Is Not a Priced Inventory
.md twin for desk QA and team training.Frequently Asked Questions
Is a Matterport 3D scan by itself enough for a pre-loss contents claim?
No. A 3D scan proves room layout and visible furniture, but it misses items inside closed cabinets, drawers, and closets and rarely captures legible model or serial numbers. Pair the scan with an open-door sweep and serial-plate macro photos.
What if our architectural drawings are from original construction and rooms were reconfigured?
Use the legacy plans only after marking current partitions, updated room numbers, and post-build equipment additions in redline during a physical walk-through, and date-stamp the corrected baseline.
How should built-in cabinetry and modular workstations be tagged when converting plans?
Record their physical attachment method—bolted, hardwired, plumbed, or freestanding—and flag them for joint structure/contents estimator review rather than guessing policy coverage boundaries.
Why export static room images if we already have an interactive 3D tour link?
Many carrier claim systems block third-party interactive links or strip external scripts, and hosted tours can expire. Static room plates and PDF plan sheets guarantee permanent, offline-readable proof.